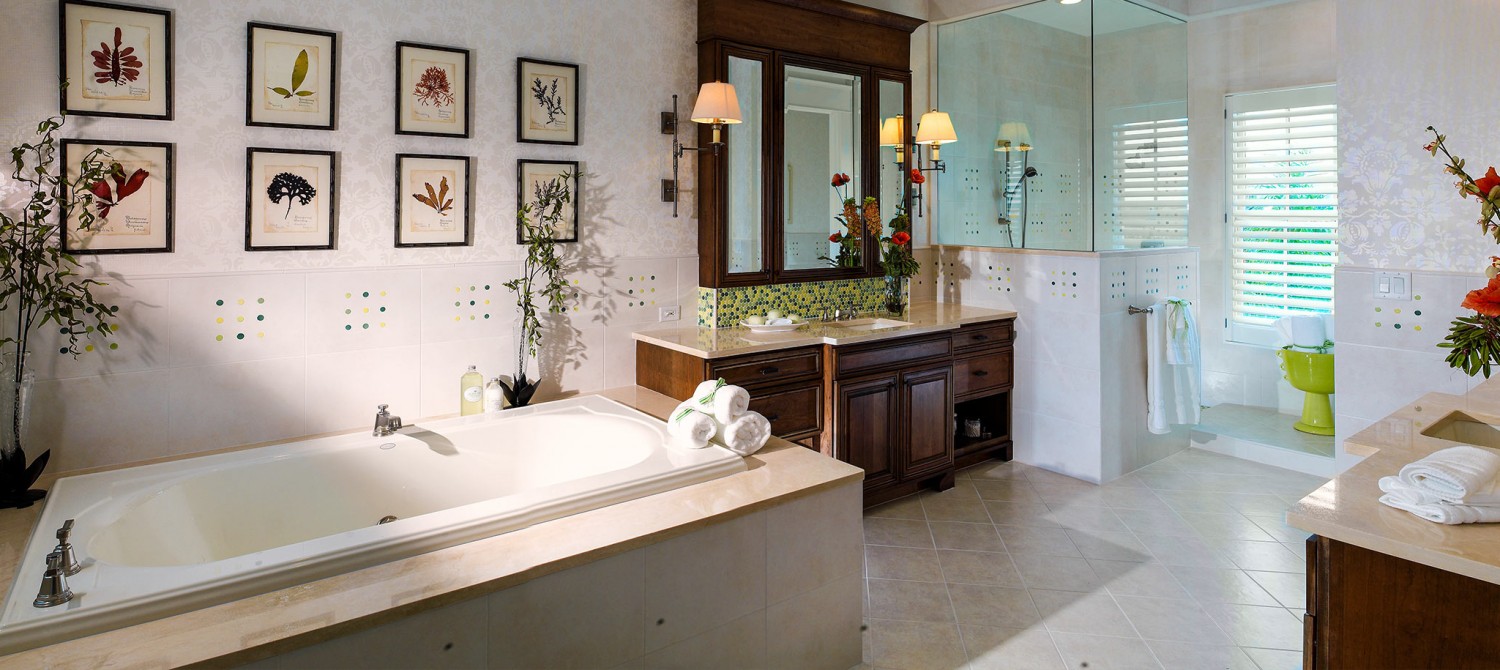
Can Bathroom Cabinets be Painted?
If your bathroom cabinets are looking worn out and dated, you’re probably wondering if there is a simple way to give them a little TLC without breaking the bank. Painting your cabinets sounds like a good idea—but can bathroom cabinets be painted? The short answer is “yes,” but how? The experts at AlliKristé have put together some tips and tricks to get your started.

What You’ll Need
Before getting started, you’re going to need to assemble the following items:
- Drop cloths
- A screwdriver
- Paint brushes, roller frames, and roller covers
- Painter’s tape
- Sanding sponges
- Primer
- Sandpaper
- Degreasing cleaner
For added safety you may also want to get a respirator, especially if your bathroom has very little ventilation. After all, no one wants to pass out from paint fumes!
Prepping Your Bathroom
Once you’ve gathered your supplies, you’ll want to prep and clean your bathroom to ensure the best results. Start by placing the drop cloth on the bathroom floor, then remove all items and toiletries from your bathroom cabinets, drawers, and sink tops to ensure nothing gets in the way or gets splattered with paint. Once everything is cleared away, use the screwdriver to detach your bathroom vanity’s hardware, such as its knobs and hinges. Be sure to label the ones you want to reuse and place them somewhere safe for later. Afterward, remove your cabinets and drawers if they can be detached, and place them aside on the drop cloth. If possible, it could be helpful to also remove the fronts of each drawer so they can be easily painted separately. If you did this, be sure to mark where the fronts attach for easy reattachment.
Be sure to clean your bathroom drawer cabinet surfaces with a degreasing cleaner, then rinse off any remaining product with water. Finally, sand the cabinets, drawers, and drawer fronts with a 220-grade sandpaper until they appear dull. This will help the paint adhere to the surface. After sanding everything down, wipe down the surface with a damp cloth and vacuum up any remaining dust.
Taping and Priming the Vanity
Apply the painter’s tape around the perimeter of the vanity to its underside, as well as any other areas you want to remain paint-free. You’ll also want to tape the insides of the cabinets, unless you plan on painting those, too. Apply one coat of primer with a brush and roller, then a second coat after it dries. Then you’ll want to lightly sand the surface and wipe it clean.
Finally – Let’s Paint!
There are different types of paint that will work, but your choice will depend on how fast you want the job done. Oil-based paints are great for moist spaces—such as the bathroom—but will take longer to dry. Mildew-proof latex paint is a good alternative that typically dries faster. To apply oil-based paint with a roller, use a wool, fiber, or polyester blend roller cover. Use a natural bristle brush for uneven areas, and a synthetic roller or bristle brush can be used to apply latex paint.
Use a roller to paint the cabinet frame and the sides, and be sure to roll in the direction of the wood grain. Use the same method for all doors and drawer fronts. After the first coat dries, apply additional coats as needed for a smooth finish.
Custom Bathroom Cabinetry and Renovations
If you’re looking for a bathroom renovation that goes beyond a fresh coat of paint, turn to the experts at AlliKristé. For 25 years, we’ve provided homeowners with gorgeous custom cabinetry and amazing bathroom and kitchen renovations that will stand the test of time. To install custom bathroom cabinets or revamp your bathroom altogether, contact AlliKristé today and schedule your free consultation.